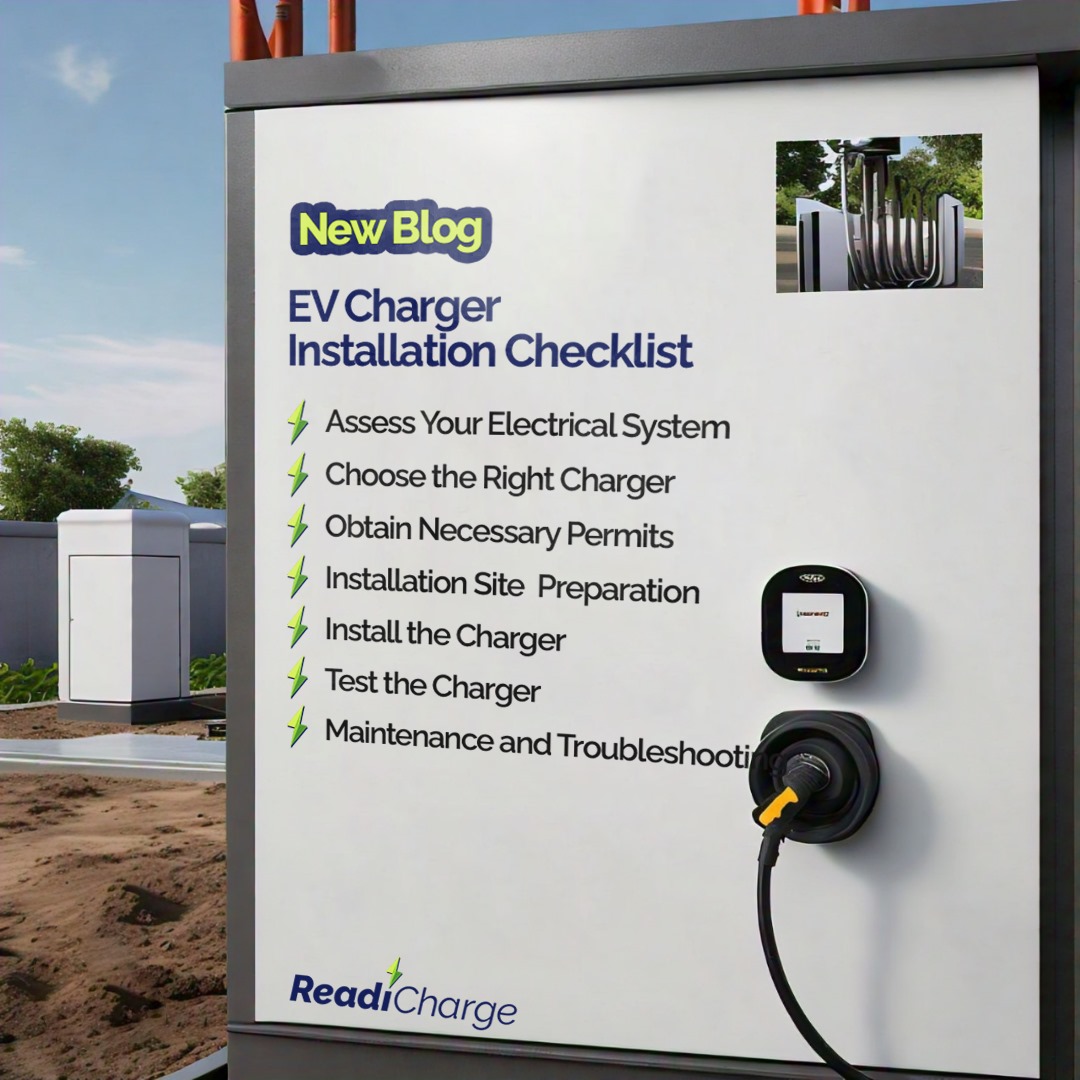
EV Charger Installation Checklist: Your Comprehensive Guide for 2024
Installing an EV charger, however, involves several steps, from assessing your electrical system to testing the charger after installation. This EV charger installation checklist will guide you through every step of the process.
Why an EV Charger Installation Checklist is Crucial
Before diving into the checklist, it’s essential to understand why proper planning is necessary. Installing an EV charger is not just a simple plug-and-play activity; it involves electrical work, permits, and strategic planning. Following this checklist will help you avoid common pitfalls and ensure a smooth installation process.
1. Assess Your Electrical System
The first step in your EV charger installation checklist is to evaluate your home’s electrical system. This is crucial because your current setup must handle the additional load that an EV charger will require.
- Upgrade if Necessary: If your panel is outdated or doesn’t have enough space, you may need to upgrade it.
- Consult an Electrician: Always consult with a licensed electrician to assess your current system. They can provide you with the necessary insights and recommendations.
2. Choose the Right Charger
Choosing the right EV charger is crucial for both your vehicle’s efficiency and your home’s electrical system. Consider the following:
- Level 1 or Level 2 charger? This LinkedIn article explains the differences between Level 1 chargers, which use a standard 120V outlet and are slower, and Level 2 chargers, which require a 240V outlet and offer faster charging times.
- Brand and Compatibility: Ensure the charger you select is compatible with your EV model.
- Smart Features: Some chargers come with Wi-Fi connectivity and smart features that allow you to monitor charging remotely.
3. Obtain Necessary Permits
Before any installation begins, it’s essential to secure the necessary permits. This step ensures that the work complies with local building and electrical codes.
- Contact Local Authorities: Reach out to your local building department to understand the permit requirements. Each area might have different regulations, so it’s essential to check with them first.
- Hire a Licensed Installer: A licensed installer can often handle the permit process for you, ensuring that everything is up to code.
- Inspections: Be prepared for inspections during and after the installation to ensure compliance with local standards.
4. Installation Site Preparation
Preparing the installation site is a critical part of the EV charger installation checklist. Proper placement of the charger ensures convenience and safety.
- Proximity to Electrical Panel: Install the charger as close to your electrical panel as possible to minimize wiring and reduce costs. This step is especially important to maintain efficiency and reduce the potential for energy loss.
- Accessibility: The charger should be easily accessible and safe from potential hazards like water or heat sources.
- Cable Management: Consider how the charging cable will be stored and managed when not in use. A well-organized setup will make it easier to use daily and prevent tripping hazards.
5. Install the Charger
With all the preparation completed, it’s time to install the charger.
- Hire a Professional: While DIY installation is possible, hiring a professional ensures the job is done correctly and safely. Professional installers can be found on the ReadiCharge App. With a few clicks of a button, you will be connected with a licensed, insured, and background-checked installer.
- Follow Manufacturer’s Instructions: Adhere strictly to the installation manual provided by the charger manufacturer.
- Final Inspection: After installation, a final inspection by a local authority or a certified electrician ensures everything is up to code and safe to use.
6. Test the Charger
After installation, it’s crucial to test the charger to ensure it’s working correctly.
- Test Different Settings: Test the charger on various settings to ensure it works with your EV. Check if it can charge at the expected speeds and if the smart features, like Wi-Fi connectivity, are functioning properly.
- Check for Faults: Ensure no faults occur during charging, such as overheating or tripped breakers.
- Monitor Initial Charge: Monitor the first few charging sessions to ensure the charger and vehicle are interacting correctly.
7. Maintenance and Troubleshooting
Even after a successful installation, ongoing maintenance is necessary to keep your charger in top condition.
- Regular Inspections: Periodically inspect the charger for any signs of wear or damage. This step is crucial for identifying potential issues before they become significant problems.
- Update Firmware: If your charger has smart features, ensure the firmware is regularly updated. Regular updates can help improve performance and security.
- Know When to Call a Professional: If you encounter issues you can’t resolve, contact a professional immediately. Professional assistance can save you time and ensure the safety of your installation.
Conclusion
Installing an EV charger at home is a significant step toward embracing a more sustainable lifestyle. By following this EV Charger Installation Checklist, you can ensure that your installation process is smooth, safe, and efficient. Remember, preparation is key to avoiding complications and ensuring that your EV charger serves you well for years to come.
For more information on upgrading your electrical system or choosing the right charger, check out our guide on Cost of Installing EV Chargers. You can also explore Permit requirement for EV Charger Installation.
Download our ReadiCharge app today to connect with top-rated installers near you and embark on your journey towards convenient and reliable electric vehicle charging.